Note: In an attempt to be OSCP friendly, NONE of my write ups will utilize Metasploit. Zero. Zip. Tell your friends.
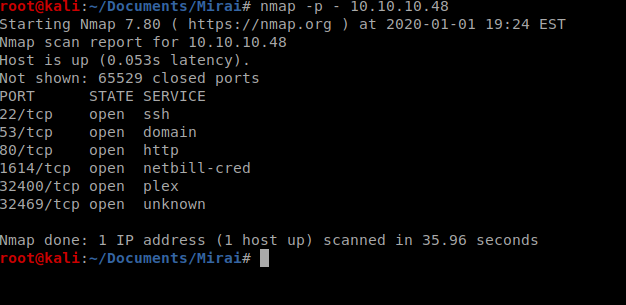
We’ll start with a scan of all open ports with the following command: nmap -p – 10.10.10.48
Next, we’ll enumerate versions and see if there’s any safe scripts available for those enumerated service versions: nmap -sC -sV -p 22,53,80,1614,32400,32469 10.10.10.48
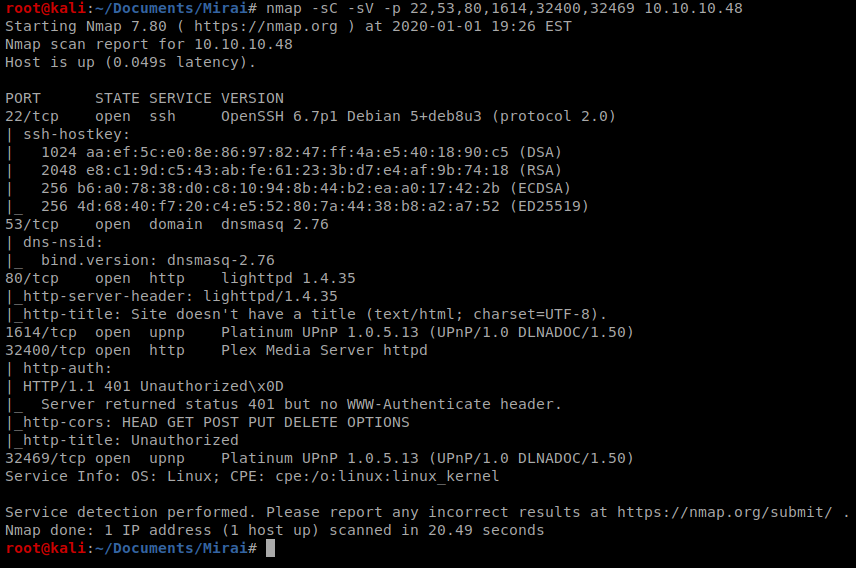
We’ll keep this information handy, but for now the most interesting thing for me is port 80, and the other HTTP stuff running on port 32400, so let’s open up our browser and navigate to the website.
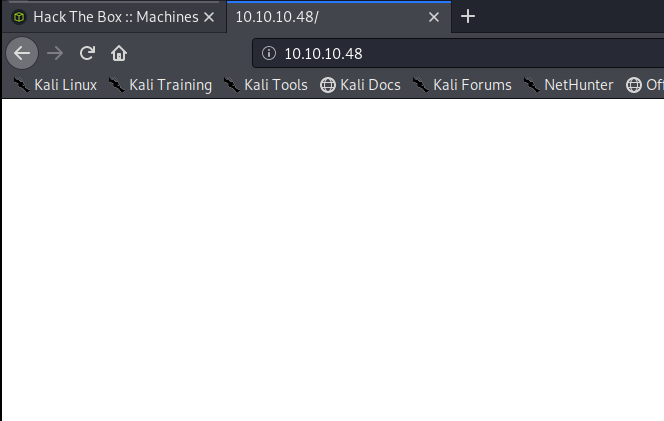
So a page comes up, but there’s nothing on it. So let’s enumerate that with gobuster
Enumerating HTTP
We’ll start with a basic enumeration using gobuster: gobuster dir -u http://10.10.10.48 -w /usr/share/wordlists/dirbuster/directory-list-2.3-medium.txt
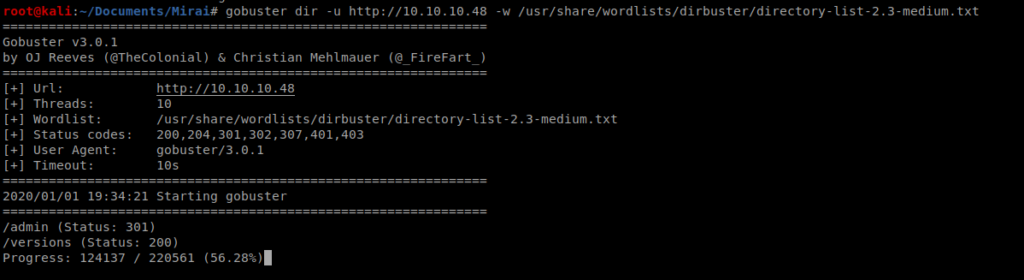
The scan will take a while to go, but within a few moments we see that the /admin directory is available, so let’s navigate there while the scan completes.
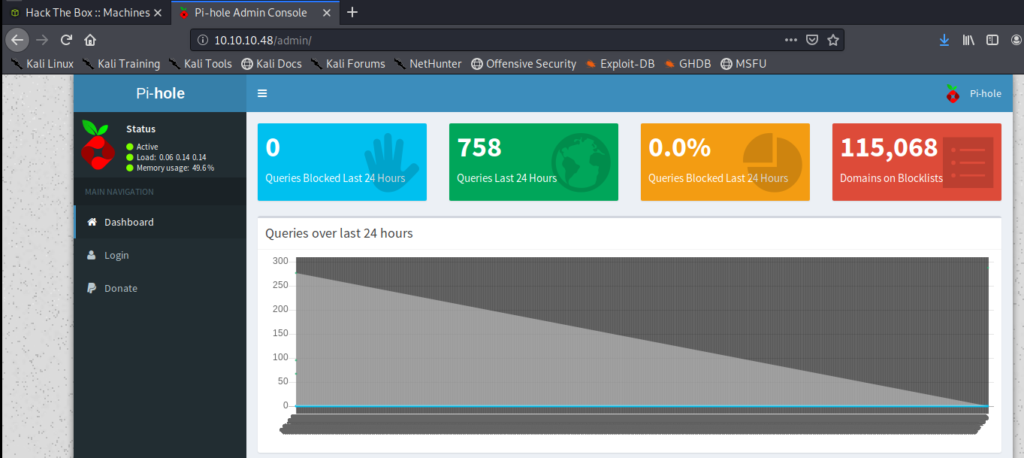
Looks like we’re at a page for Pi-hole
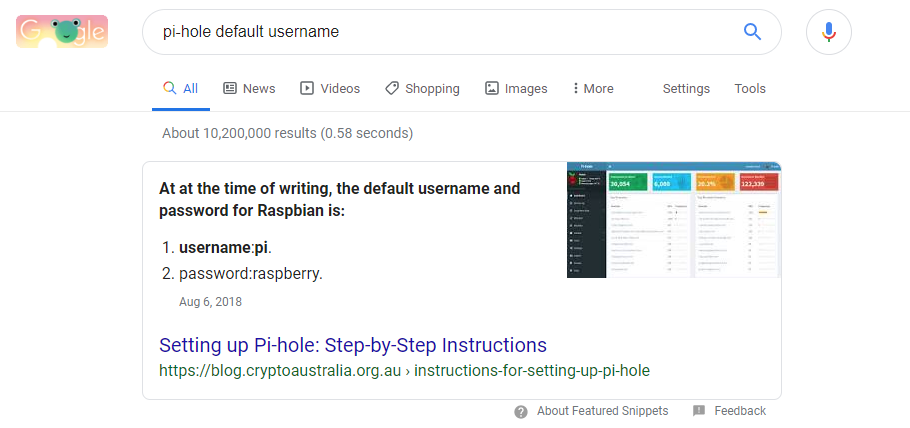
Having no idea what Pi-hole is I Googled the default username and password for Pi-hole and came right up with this:
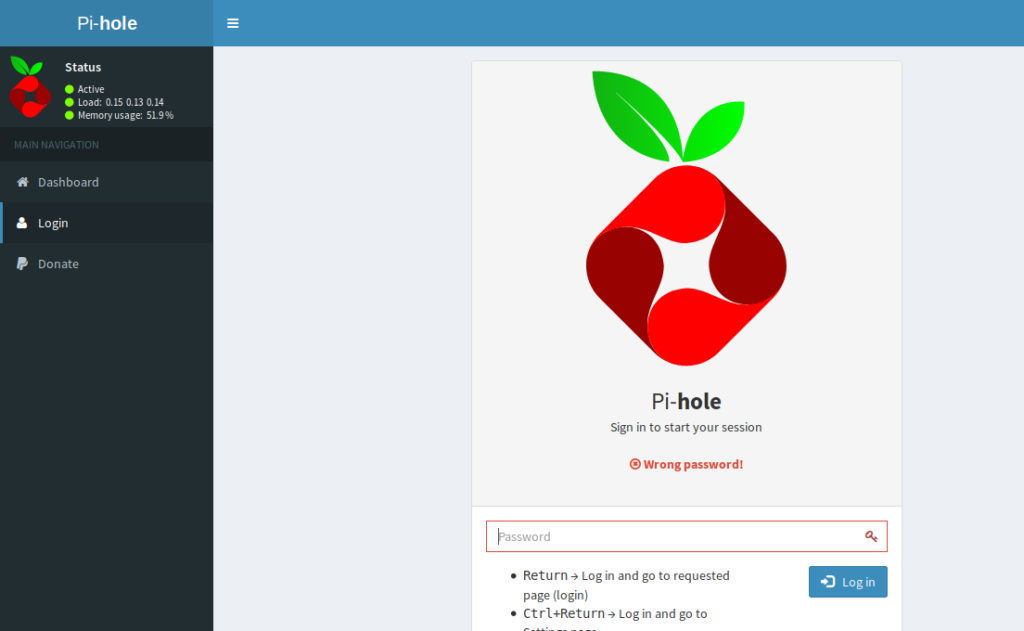
Clicking on the Login button from the Pi-hole page, when I enter raspberry as the password I get a failed login attempt.
Let’s try another way to see if our credentials work, Medusa.
Medusa
Medusa is a tool that can be used to brute-force logins. But we don’t want to brute force anything (yet) we just want to see if the credentials we have work. My instance of Kali didn’t have it, so I had to install it with sudo apt-get install medusa
You can type medusa to see how to specify the options, and in this instance we’ll need -h for hostname, -u for username, -p for password, and -M ssh to specify the SSH module we’ll try to log in with. Thus, our command looks like this: medusa -h 10.10.10.48 -u pi -p raspberry -M ssh

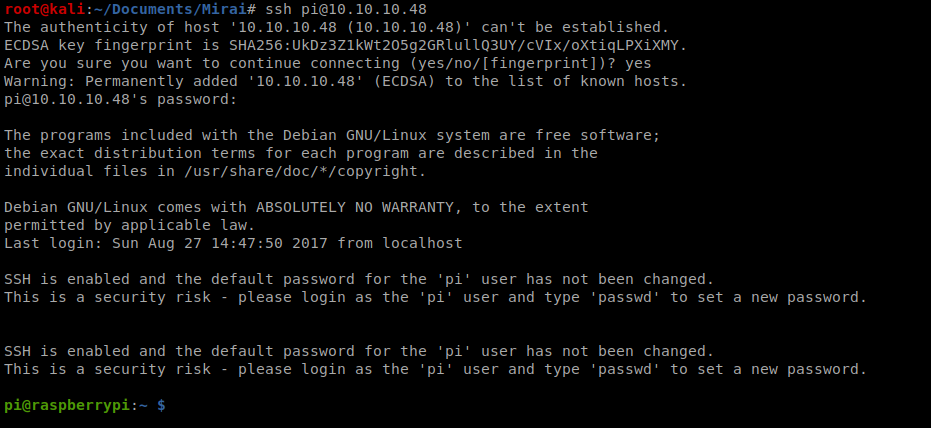
Looks like we’re good to go, so let’s ssh into the box and log in: ssh pi@10.10.10.48
So, let’s start by seeing who we’re logged in as, and if we can do sudo with anything.

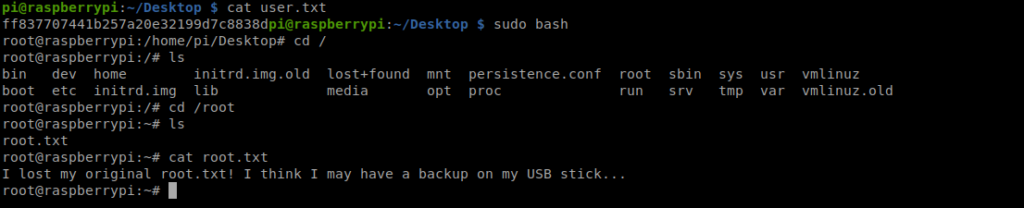
Cool! Let’s navigate to the desktop and see if we can get the user flag:

Getting Root
We can type sudo bash to get root access and then move to the /root directory and look for the root flag.
So, now we need to look for a USB drive location. Let’s start by moving to /mnt, and then /media
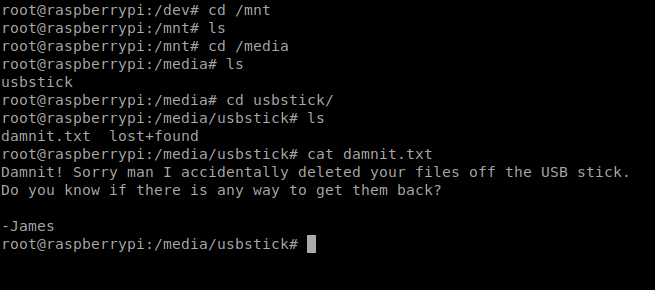
Well, roger that. Let’s move to /dev and look at the sbd file.

From here, you can either use strings or cat to look at the sbd file and get the root flag.
naturally like your web-site however you have to test the spelling on quite a few of your posts. A number of them are rife with spelling issues and I find it very bothersome to inform the truth however I will surely come again again.
My partner and I absolutely love your blog and find almost all of your post’s to be just what I’m looking for. Do you offer guest writers to write content for you? I wouldn’t mind producing a post or elaborating on a number of the subjects you write in relation to here. Again, awesome web site!
46sp8m